
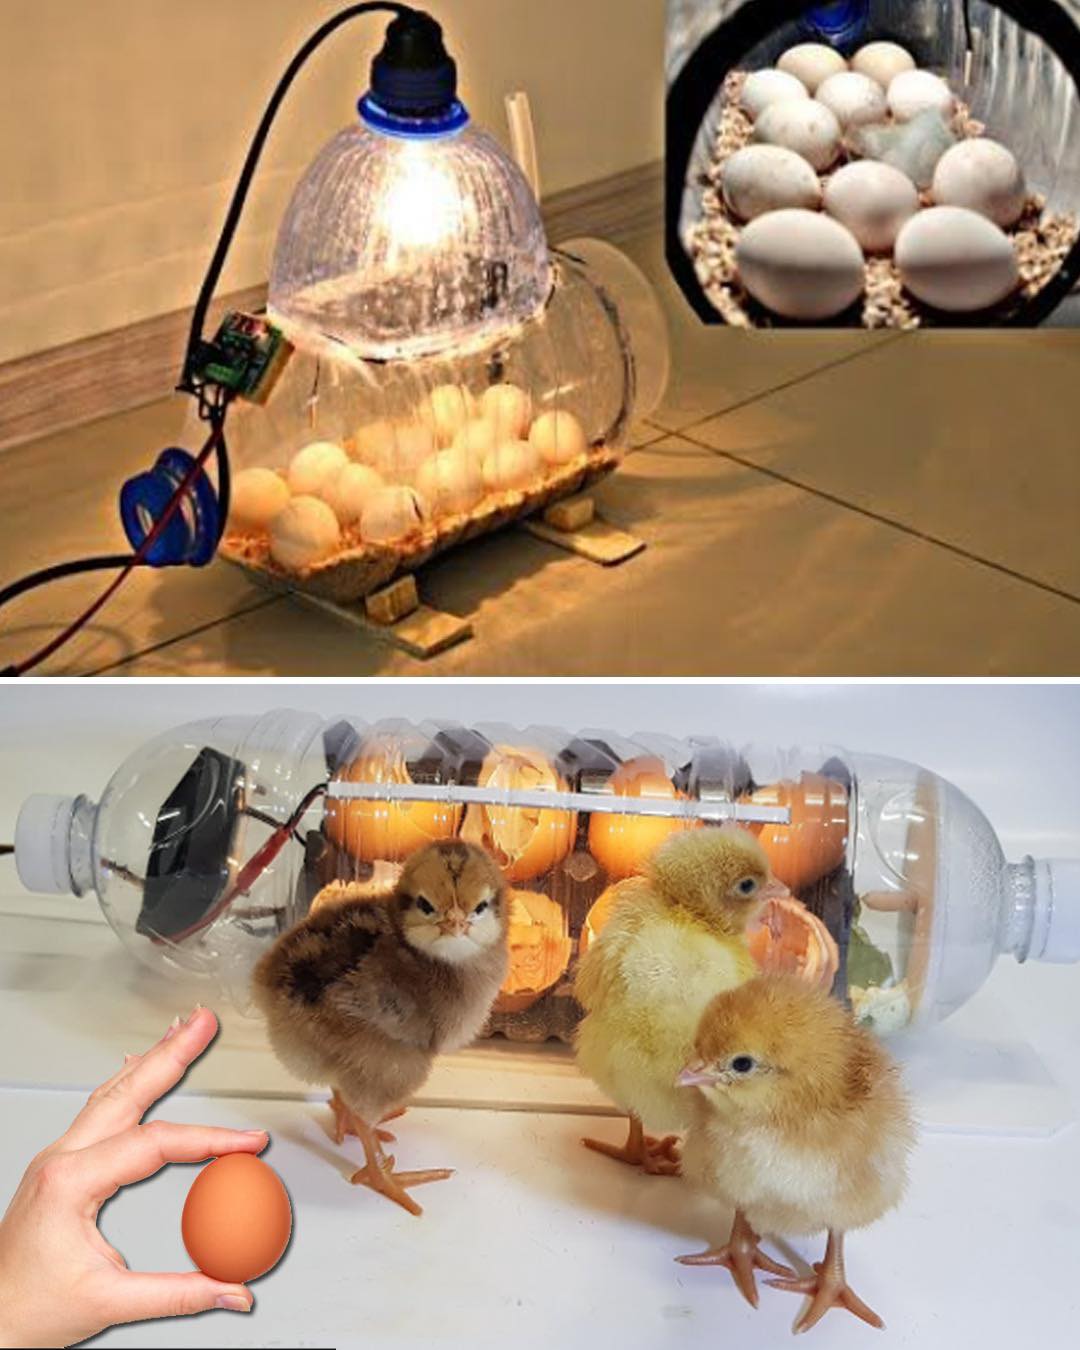
In the world of DIY projects and sustainable living, ingenuity often thrives when resources are scarce. One such innovative solution is the creation of a home incubator using nothing more than a common plastic bottle.
With a bit of creativity and minimal investment, you can transform a discarded container into a functional incubation chamber for hatching eggs or fostering plant growth.
Here’s a step-by-step guide to crafting your own eco-friendly incubator at zero cost.
Materials Needed:
- Plastic bottle (any size will suffice, though larger bottles provide more space)
- Box cutter or sharp knife
- Tape (optional)
- Water (for humidity, if applicable)
- Thermometer (if monitoring temperature)
Step 1: Prepare the Bottle
Begin by thoroughly cleaning and drying the plastic bottle. Remove any labels or stickers, ensuring a smooth surface for cutting and crafting.
Choose a bottle size appropriate for your intended use, considering factors such as the size of eggs or plants you wish to incubate.
Step 2: Cutting the Bottle
Using a box cutter or sharp knife, carefully cut the plastic bottle in half horizontally, creating two separate pieces: a top portion and a bottom portion.
The top portion will serve as the lid of the incubator, while the bottom portion will house your eggs or plants.
Step 3: Creating Ventilation
To ensure proper airflow within the incubator, make small ventilation holes along the sides of the bottom portion of the bottle.
These holes will prevent moisture buildup and promote healthy growth. Be mindful not to make the holes too large, as this may compromise the stability of the incubator.
Step 4: Optional Modifications
Depending on your specific needs, you may choose to customize your incubator further. For example, if hatching eggs, you can place a small dish of water inside the bottom portion to maintain humidity levels.
Additionally, you may opt to tape or seal any gaps between the top and bottom portions of the bottle to maximize heat retention.
Step 5: Assembly
Carefully place your eggs or plants inside the bottom portion of the bottle, ensuring they are secure and well-positioned. Place the top portion of the bottle over the bottom portion, creating a snug fit.
If necessary, use tape or additional materials to secure the two pieces together.
Step 6: Monitoring
Once assembled, place your homemade incubator in a suitable location with stable temperature and lighting conditions.
If monitoring temperature is crucial, consider placing a thermometer inside the incubator to ensure optimal conditions for growth or hatching.
Step 7: Observation and Maintenance
Regularly check on your incubator to monitor progress and make any necessary adjustments.
Keep an eye on temperature and humidity levels, ensuring they remain within the desired range for your specific needs.
Water may need to be replenished periodically to maintain adequate moisture levels.
Creating a home incubator from a plastic bottle is a simple yet effective way to repurpose everyday materials for sustainable living.
By harnessing the power of innovation and resourcefulness, you can cultivate new life or nurture plant growth without breaking the bank. So gather your materials, unleash your creativity, and embark on a journey of DIY discovery with your own zero-cost incubator.